Wedding Song - God Knew That I Needed You

Showing posts with label MOD. Show all posts

Wednesday, October 5, 2022

MOD KNIT VAREIGATED RECEIVING BABY BLANKET ~ Easy Pattern

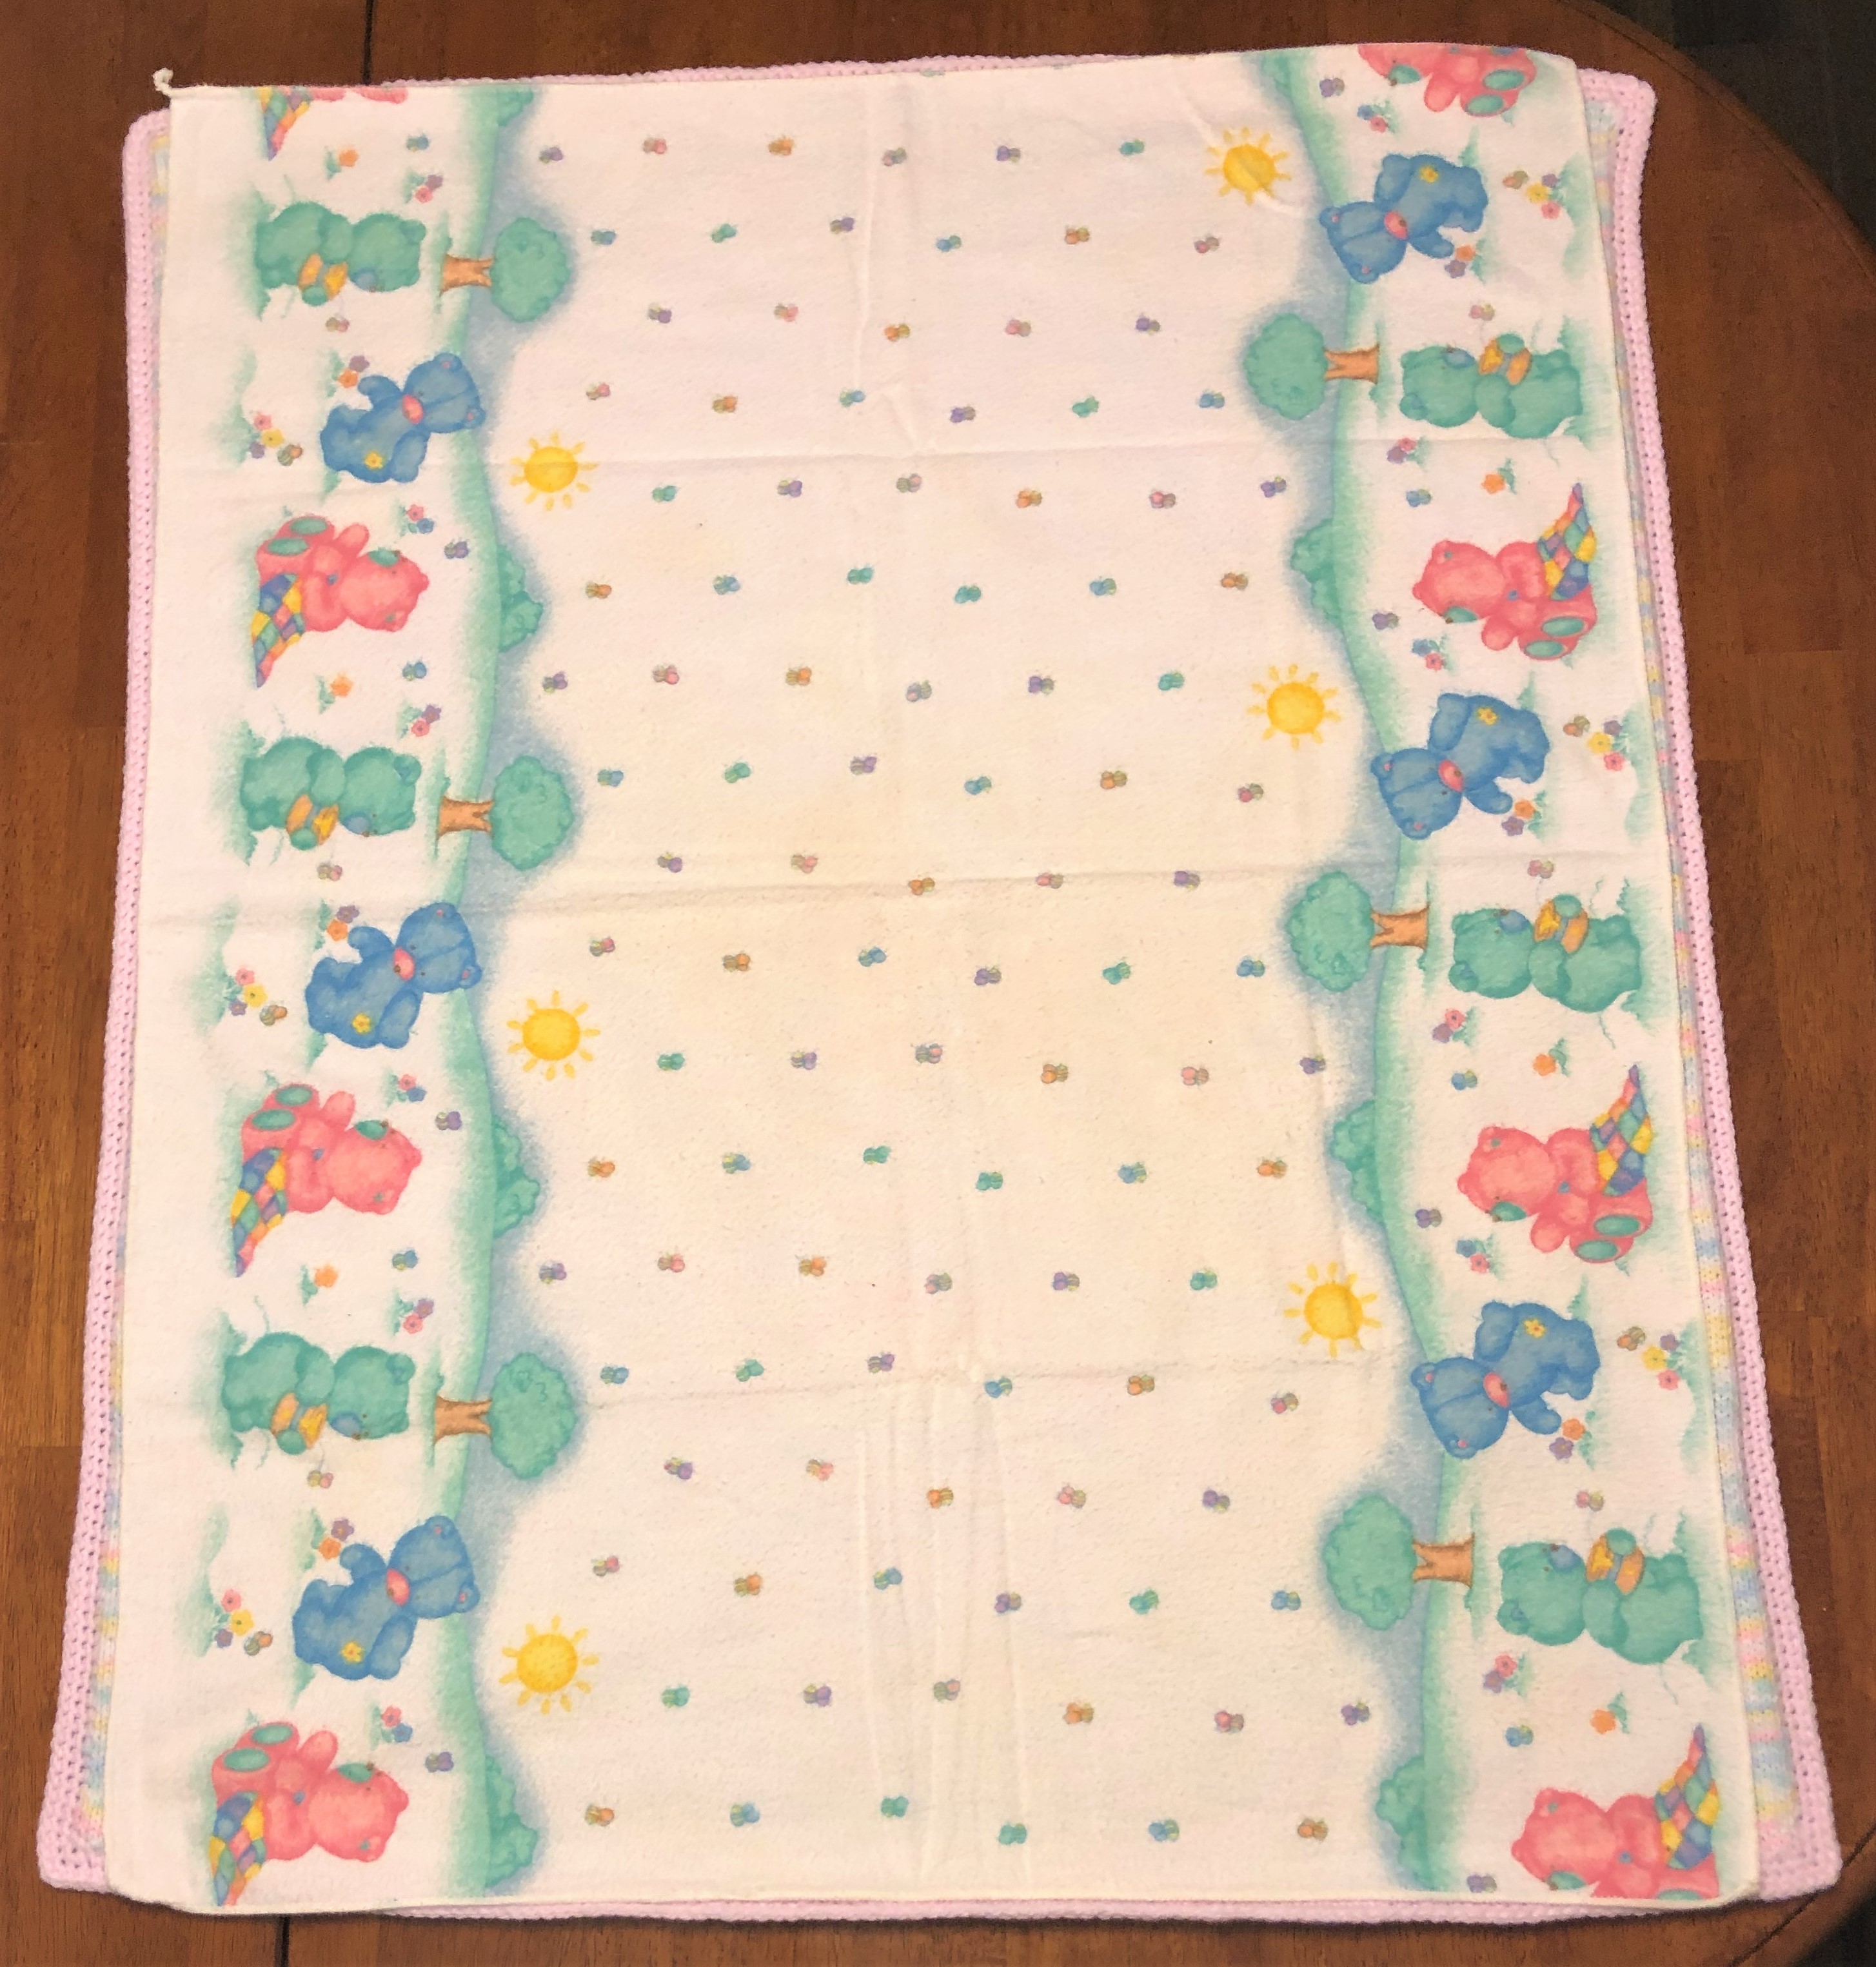
I’ve been making baby items for the local Caring Pregnancy Center – this is the latest item completed; a blanket made with ‘girl’ colors 😉

Crafted to match sizing; knit blanket.

Yesterday afternoon, I received news that Christina’s baby arrived very prematurely; he was born yesterday, and weighed in at 3 lbs. 15 oz. … so, the receiving blanket I’m working on today is in ‘boy’ colors 😊

MOD KNIT Receiving Blanket; Boy.

The pattern is so simple and easy to work up, I almost feel embarrassed to post it.

MOD KNIT VAREIGATED RECEIVING BABY BLANKET ~ Easy Pattern

Materials: 9.8 oz. MC Bernat Baby Sport Yarn; adequate amount of CC baby sport yarn for trim; #5 straight needles; st counter; #G crochet hook; tapestry needle.

Size: Baby Blanket; receiving size – 34 x 29 inches

Terms Used:

MC = main color

CC = contrast color

CO – cast on

sts = stitches

garter st = knit 1 row (RS)/purl 1 row (WS)

RS = right side of work, facing

WS = back side of work, facing

sc = single crochet

sk = skip

EO = end off

Pattern: Slip st counter on a knitting needle. With MC yarn, CO 150 sts; purl next row – knit next row. Continue in garter st for a total of 250 rows. EO

With crochet hook and CC yarn, pickup 125 sts across top of blanket as follows – 2 sc in corner st; *5 sc, sk 1* - to top corner edge, then make 3 sc in corner st and continue down the side in 124 sc to bottom corner, making 3 sc in corner st: repeat *5 sc, sk 1* across bottom of blanket with a 3 sc in each corner sts … and finish the whole thing with 124 sc to top corner, making 1 sc in top corner st to equal 3 sc total in that st. EO and weave in loose ends.

SC edging, with corner increases.
MOD KNIT Receiving Blanket ~ Full Size, 34 x 29 inches.

That’s it 😊 Easy-peasy 😉

Sunday, August 7, 2022

MOD BABY JACKET & EARFLAP HAT; NB-3 MO. GIRL; Knit – Bulky Weight Yarn

This baby jacket is a match for the previous baby jacket I designed, and posted 😊


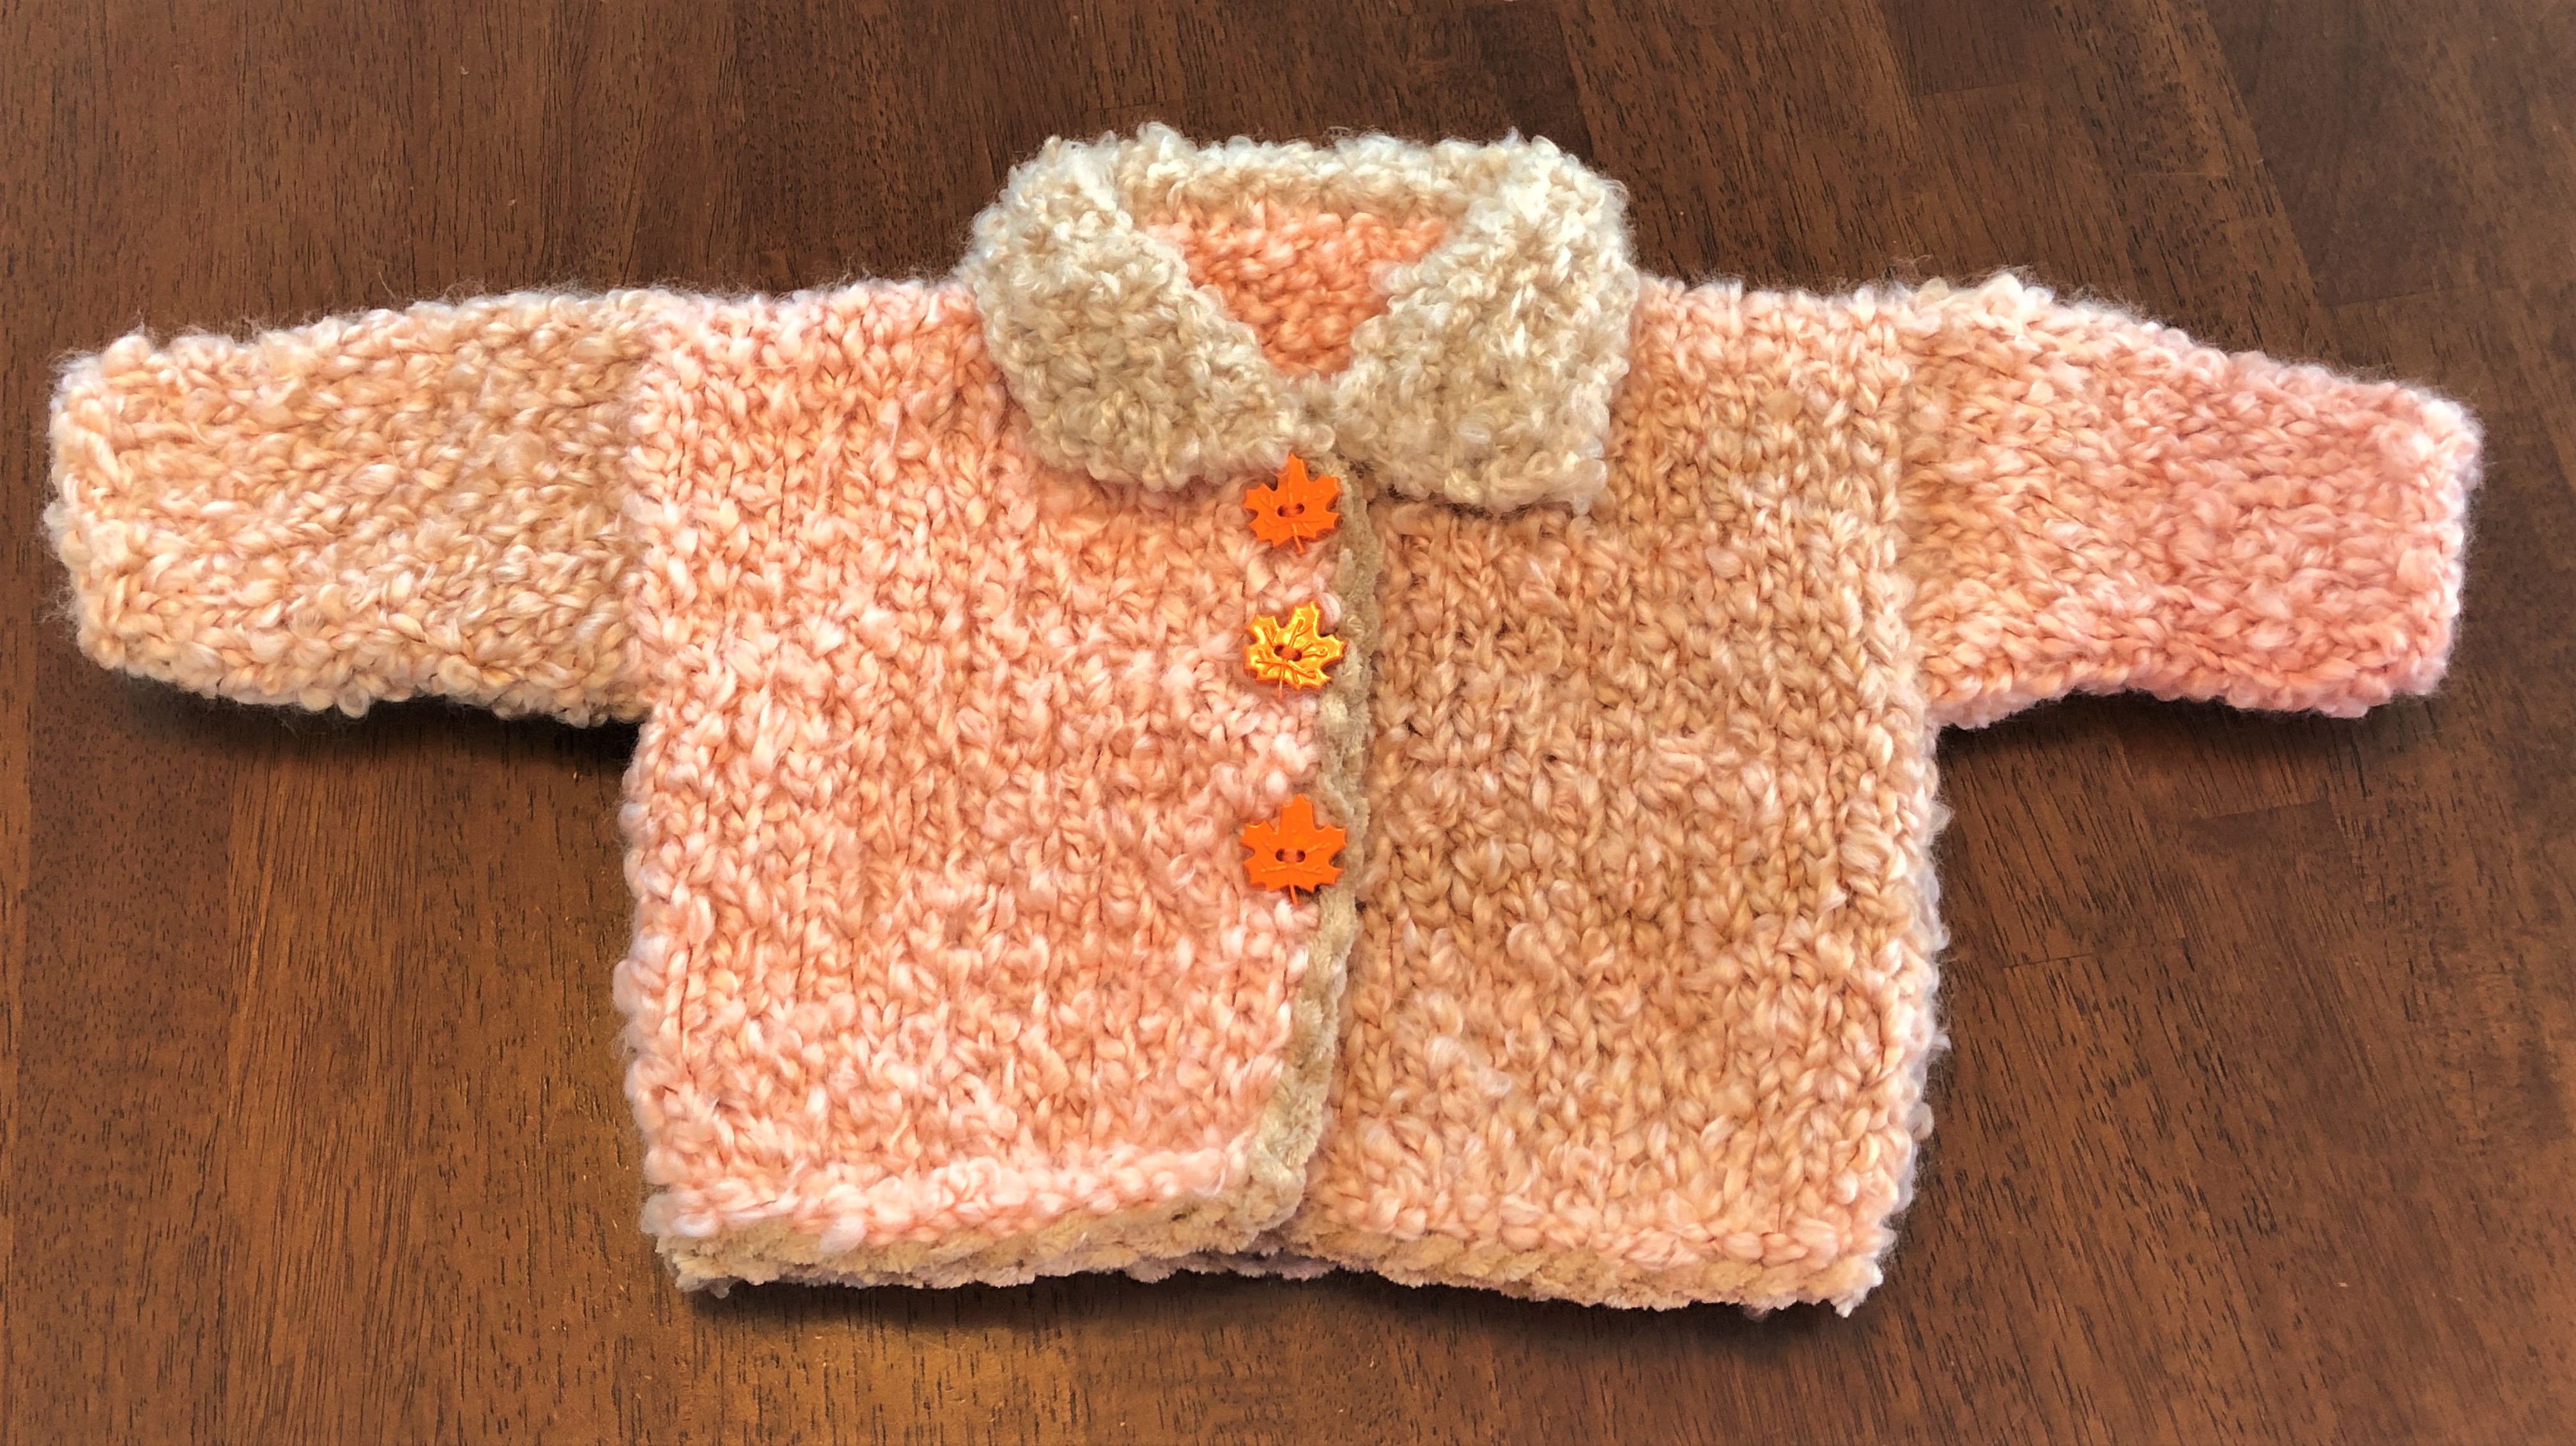
Newly designed Jacket with Hat to match.

Materials: 200g of any brand Bulky Yarn (#5 weight) MC & CC; #11 knitting needles – straight; #L crochet hook; 3 medium stich holders; 4 pieces CC scrap yarn, about 3-inches in length; tapestry needle; elastic thread; 3 1” resin buttons

Size: NB to 3 MO

Terms Used:

MC = main color

CC = contrast color

CO = cast on

K = knit

P = purl

st st = stockinette st (knit 1 row – purl 1 row)

sl st = slip stitch (insert crochet hook in back loop and pull thread through, moving onto next st and repeating process)

inc = increase

dec = decrease

x = repeat pattern process

yo = yarn over

tog = together

EO = end off


Jacket Back: With MC, CO 26 st and work in st st fo 9½ -inches. Place 7 sts on a st holder (front)/12 sts (neck back) on a st holder/remaining 7 sts on last st holder (front).

Right Front (Buttonhole side; Girl): Slip sts of this holder onto needle; attach yarn and knit across 7 sts – increasing 2 sts at end of row. P next row. Continue in st st, and inc 2 sts every k row x3 (15 sts on needle). Now P 1 row & K 1 row. Begin to work BUTTONHOLES: K2, yo, k2tog for each buttonhole; make two more buttonholes in same manner, spaced 1½ -inches between.

Work even in st st, until entire piece measures 9½ -inches from shoulder. EO

Back of Neck: Leave sts on holder.

Left Front: K across 7 sts on holder. P next row & inc 2 sts at end of row. Continue in sts st, and inc 2 sts every p row x3 (15 sts on needle).

Work even in st st, until entire piece measures 9½ -inches from shoulder. EO

Sleeves: With scrap yarn bits, mark sleeve settings 4¼ -inches from shoulders (both sides of work). With #L crochet hook, pickup and knit 24 sts between marked area; work in st st on these sts for 4 rows – and dec 1 st of next row. Repeat dec every other row x3 (16 sts on needle). Work eve in st st until sleeve measures 5” from shoulder. EO

Repeat instructions on opposite side for second sleeve.

Remover scrap yarn markers and save for button placements.

Sew side and sleeve seams.

Collar: From front of work, pick up and k 30 sts along front & back necklines. P next row (underside of collar). Work in st st until collar measures 4”. With back of collar facing you, begin at right edge, and trim around collar a with MC sl st crochet edging. EO

Fold buttonhole front over plain front piece, and mark button placements by threading tapestry needle with a piece of scrap yarn and drawing yarn through center st showing through buttonhole hole … this will make an accurate button placement that lines up properly with buttonhole.

Hold jacket with Right Front side facing you, and with CC color, work a sl st edging around entire jacket body for a nice finish 😊 Sew buttons in place.

Finished! Homespun yarn, with Cashmere yarn edging.

Earflap Hat can be found at this link: https://melodys-makings.com/wp-content/uploads/2015/08/I-Cord-Earflap-Hat-Knitting-Pattern.pdf


Tuesday, August 2, 2022

MOD KNIT BULKY BABY JACKET & EARFLAP HAT ~NB-3 MO; BOY

The jacket is my own design; the earflap hat pattern, I found surfing the internet 😉

Jacket & Hat Set Completed; NB to 3 MO - BOY

A friends gave me an 'Itty-Bitty Knits for Baby booklet' a few years back, and it had a jacket pattern that looked interesting to me ... but I didn't like the garter st pattern (I wanted something a little softer, like what I designed the other night). I also thought softer shoulders (without bulky seams) would feel better on a little body  so I designed that, too. I like flatter collars, too: so that became a feature in my design.

Basically, I reworked the entire original pattern  and to be quite honest, I think my design looks better, and will feel better on a little baby body.

This pattern really is my own design. I haven't done anything other {designer's} don't do. Every designer builds on another's foundation: but they tweak the foundation to suit their own purposes.

I hope you enjoy this reworked pattern. I know I enjoyed working it ... and the next one will go a lot quicker, because I won't be working with needles in one hand, a vision before my eyes, and a pen in the other hand. Time will be significantly reduced, so I can't tell you how long it will take to knit the jacket  all I can say is I started after Supper, and that it was finished before bedtime ðŸ˜‰

You can complete the hat while watching your favorite movie ðŸ˜Š

Materials: 200g of any brand Bulky Yarn (#5 weight); #11 knitting needles – straight; #L crochet hook; 3 medium stich holders; 4 pieces CC scrap yarn, about 3-inches in length; tapestry needle; elastic thread; 3 1” resin buttons

Size: NB to 3 MO

Terms Used:

CC = contrast color

CO = cast on

K = knit

P = purl

st st = stockinette st (knit 1 row – purl 1 row)

inc = increase

dec = decrease

x = repeat pattern process

yo = yarn over

tog = together

EO = end off


Jacket and hat make up very quickly – you can have the set completed in a day’s time … a day and a half if you have a life outside of sitting and knitting 😊

Jacket Back: CO 26 st and work in st st fo 9½ -inches. Place 7 sts on a st holder (front)/12 sts (neck back) on a st holder/remaining 7 sts on last st holder (front).

Right Front: K across 7 sts on holder & inc 2 sts at end of row. P next row. Continue in sts st, and inc 2 sts every k row x3 (15 sts on needle).

Work even in st st, until entire piece measures 9½ -inches from shoulder. EO

Right Front Neck Shaping.

Back of Neck: Leave sts on holder.

Left Front (Buttonhole side; boy): Slip sts of this holder onto needle; attach yarn and knit across 7 sts. P next row – increasing 2 sts at end of row. Continue in st st, and inc 2 sts every p row x3 (15 sts on needle). Now K 1 row & P 1 row. Begin to work BUTTONHOLES: K2, yo, k2tog for each buttonhole; make two more buttonholes in same manner, spaced 1½ -inches between.

Left Front Shaping & Buttonholes - Boy.

Work even in st st, until entire piece measures 9½ -inches from shoulder. EO

Sleeves: With scrap yarn bits, mark sleeve settings 4¼ -inches from shoulders (both sides of work). With #L crochet hook, pickup and knit 24 sts between marked area; work in st st on these sts for 4 rows – and dec 1 st of next row. Repeat dec every other row x3 (16 sts on needle). Work eve in st st until sleeve measures 5” from shoulder. EO

Repeat instructions on opposite side for second sleeve.

Jacket Body & sleeves completed.

Remover scrap yarn markers and save for button placements.

Sew side and sleeve seams.

Collar: From front of work, pick up and k 30 sts along front & back necklines. P next row (underside of collar). Work in st st until collar measures 4”. EO

Starting Collar; purl sts on backside; st st on front side, to be turned down when finished.

Fold buttonhole front over plain front piece, and mark button placements by threading tapestry needle with a piece of scrap yarn and drawing yarn through center st showing through buttonhole hole … this will make an accurate button placement that lines up properly with buttonhole.

MOD Jacket FINISHED!
Original Design – I really do think my design is more appealing …

Earflap Hat can be found at this link: https://melodys-makings.com/wp-content/uploads/2015/08/I-Cord-Earflap-Hat-Knitting-Pattern.pdf

Sunday, June 5, 2022

MOD KNIT BABY CARDIGAN & HAT IN BLUE ~Boy/NB-3 MO


The original pattern for this set was in a Pingouin Nr 98 Baby Layette Pattern magazine … but Pingouin yarn is no longer available, and the Magazine is no longer in print – so, I rewrote the original pattern for a newborn size, and worked this set in Bernat Baby Sport yarn: for all intents and purposes at this time, this pattern really in my own design (MOD) 😉

Size: NB to 3 mos.

Materials: 1 10.5 oz skein Bernat Baby Sport yarn, blue; #2, #3 & #4 needles; 3 buttons; tapestry needle

Terms Used:

CO = cast on

sts = stitches

beg = beginning

st st = stockinette st

inc = increase

ea = each

dec = decrease

tog = together

BO = bind off

x = do again

rpt = repeat

Stitches Used:

1 x 1 Rib: (Row 1): knit 1, purl 1 across row. (Row 2): K the k sts, and p the p sts. Rpt rows for pattern.

Stockinette St: (Row 1): k across row (Row 2): purl across row. Rpt for pattern.


==Cardigan –

Back: With #3 needles, CO 63 sts & work 3 rows in 1 x 1 rib. Change to #4 needles & work st st for 5” from beg (include rib), shape armholes: BO at each outer edge, 2 sts once. You now have 59 sts on needle. Continue in st st – when piece measures 8-7/8” from beg (include rib), shape shoulders: BO at each outer edge, every 2nd row, 9 sts x 2 – at same time as 1st shoulder shaping, BO center 25 sts for neckline shaping; then finish each side separately.

Armhole shaping.
Back piece, finished.

Left Front: With #3 needles, CO 35 sts & work 3 rows in 1 x 1 rib. Change to #4 needles & work st st for 4” from beg (include rib); make 1 buttonhole 2 sts wide, 3 sts from left edge … then make 2 more, spaced ¾” apart. At same time, when work measures 5” from beginning (include rib), shape armhole: BO on right edge same as for Back piece. You should now have 33 sts on needle. Continue in st st – when piece measure 7-¾” from beginning, shape neckline: BO on left edge, every 2nd row – 6 sts x 1; 5 sts x 1; 3 sts x 1, & 1 st x 2. When piece measures 8-7/8” from beg (include rib), shape neckline: BO on right edge, same as for Back piece.

Front piece.
Front piece, finished.

Right Front: Work same as Left Front … but reverse shapings & omit buttonholes.

Sleeves: With #3 needles, CO 42 sts & work 1-3/8” in 1 x 1 rib. Change to #4 needles & work in st st; inc 1 st at each outer edge – every 6th row x 3, & every 8th row x 4. You should now have 56 sts on needle. When piece measures 8-3/8” from beg (include rib), BO across row.

Sleeve piece.

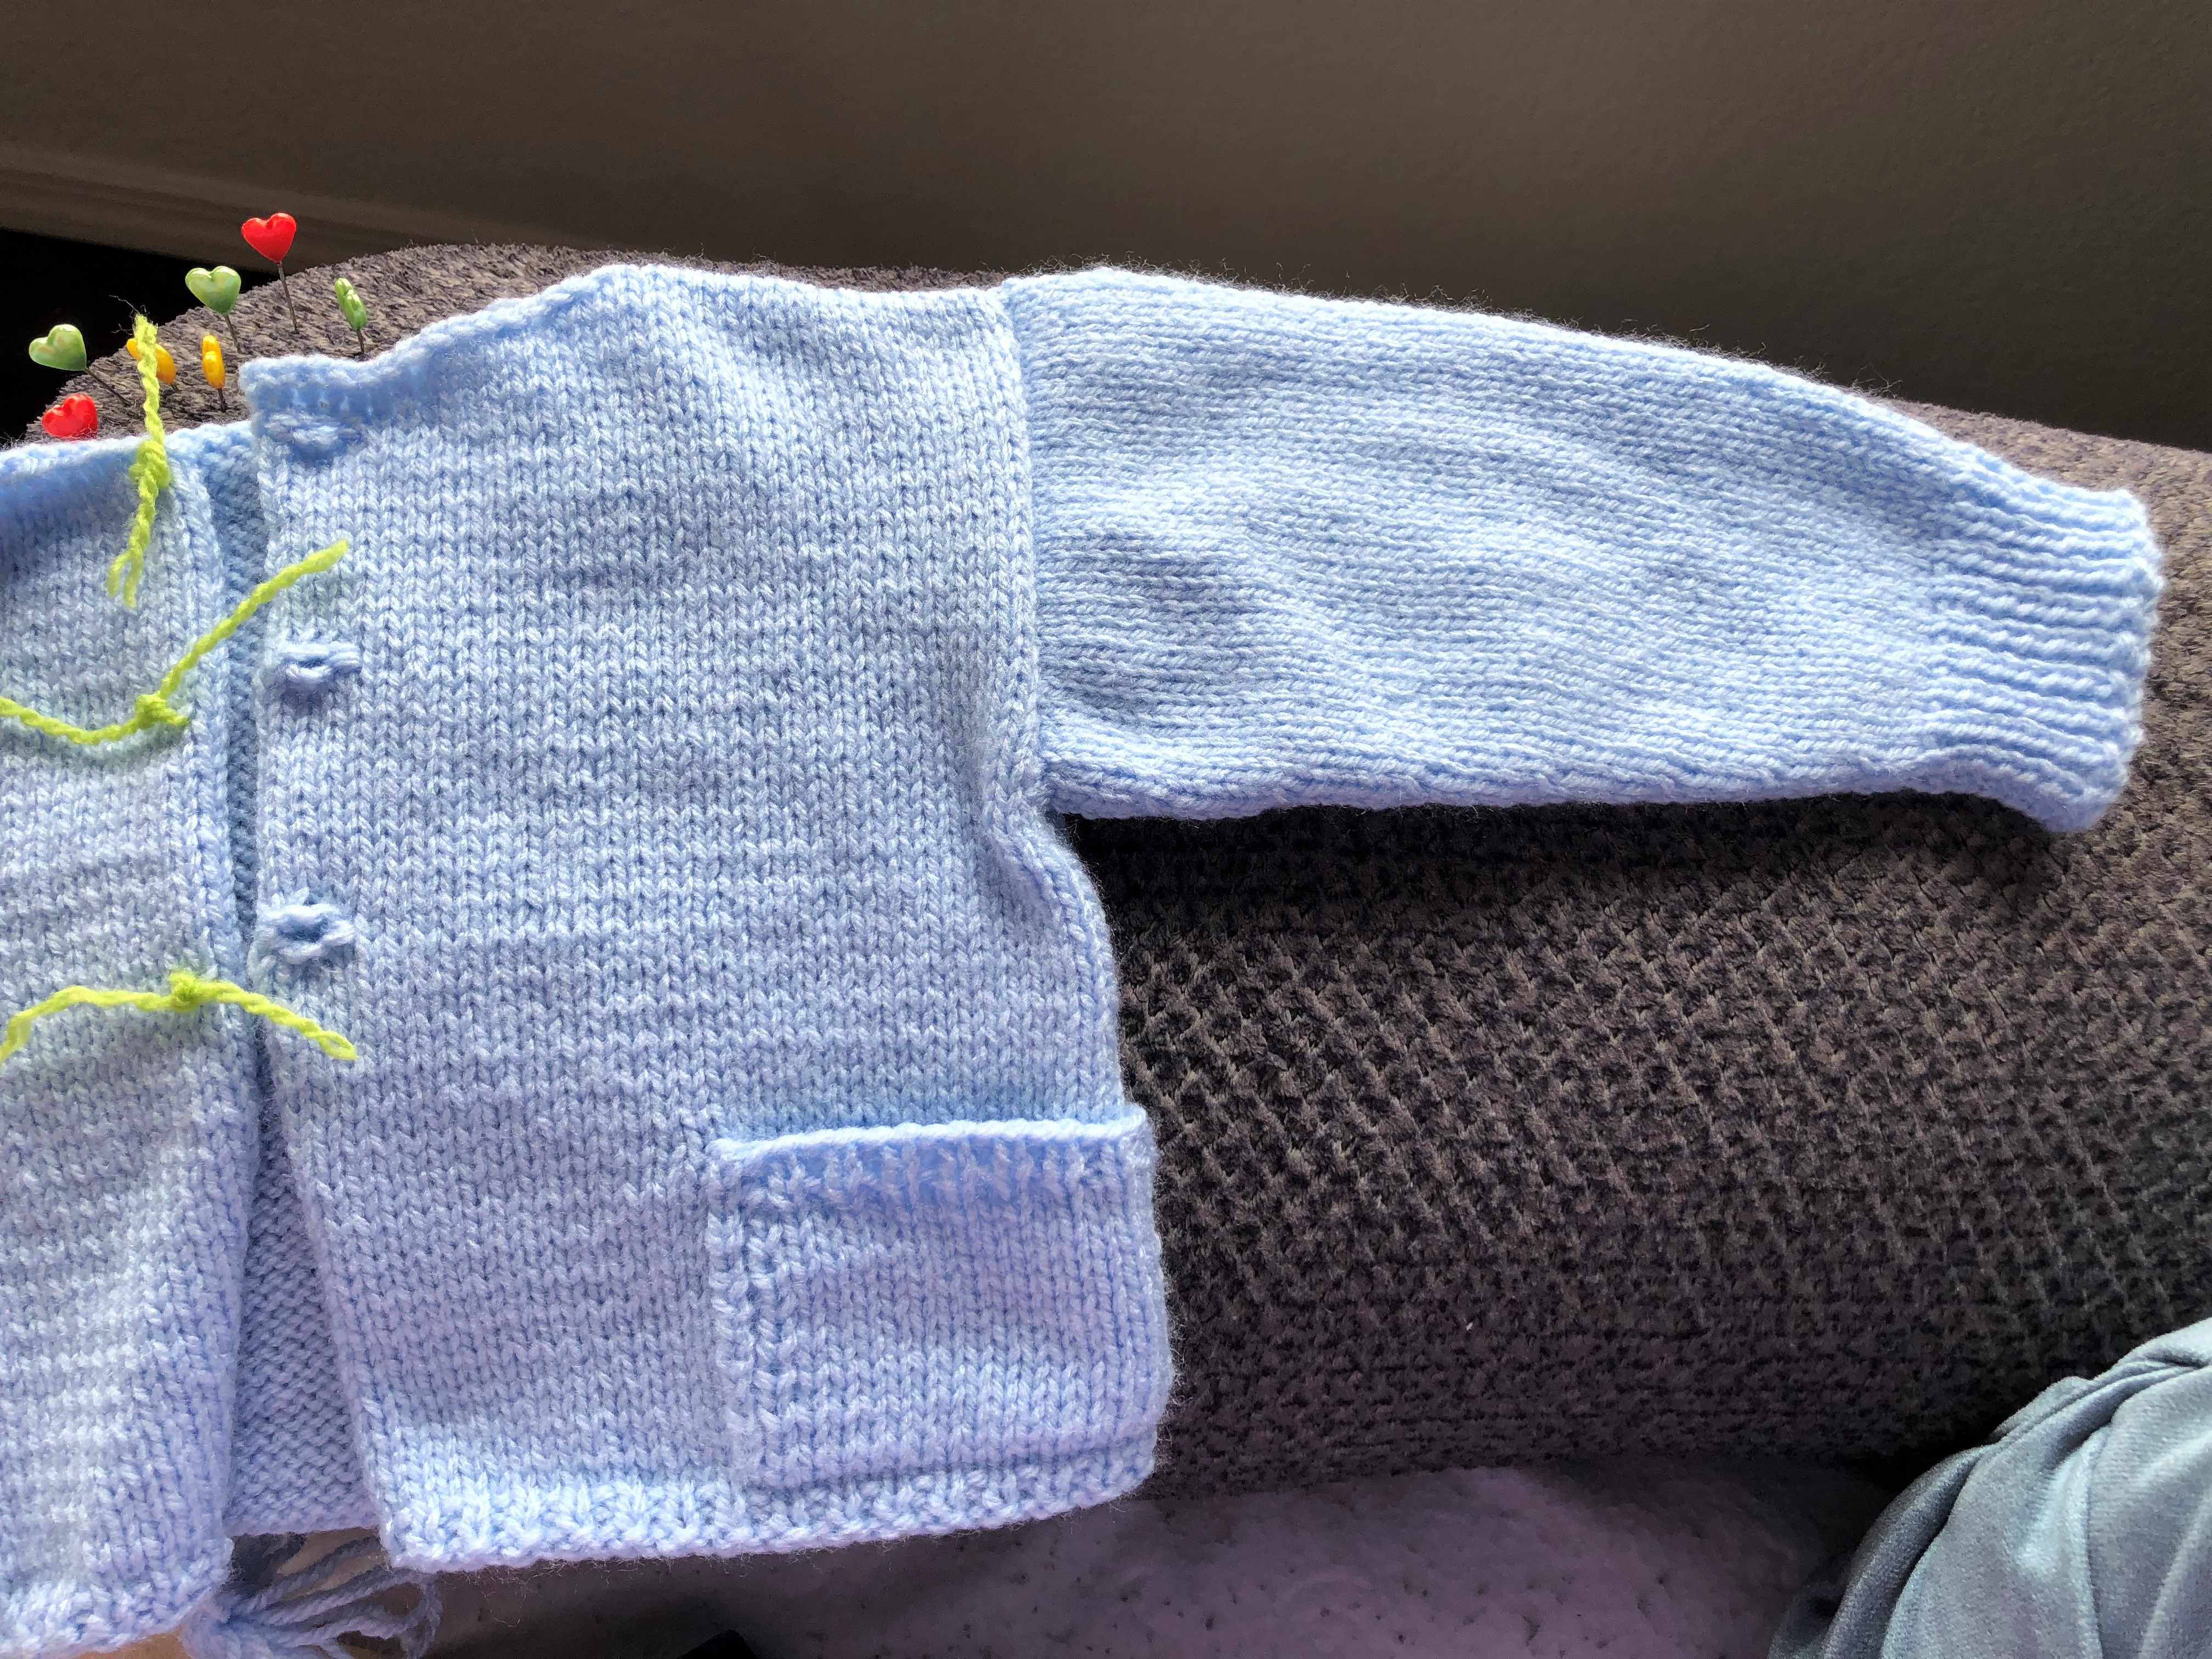
Pockets (make 2): With #4 needles, CO 18 sts & work in st st for 2” – then work 3 rows in 1 x 1 rib; BO.

Piecing cardigan together: Sew pockets to front pieces – side edge of pockets on side seam & lower edge above hemline ribbing.

Sew shoulder seams.

Sew sleeves to armholes.

Sew side seams; matching underarm seams for a smooth seamline. Mark button placement.

Finishing: With #2 needles & right side of work facing, pick up and knit 62 sts around neckline – this will be the collar. Work 1-5/8” in 1 x 1 rib. BO, fold collar inward, and whipstitch to the pickup row.

Front Borders: With #2 needles & right side of work facing, pick up and knit 63 sts along ea front edge (except collar ends) … and work 1 row of 1 x 1 rib – BO next row.

Sew on buttons.


==Stocking Hat –

Finished Baby Hat, with edge folded back.

With #4 needles, CO 114 sts & work in 1 x 1 rib until piece measures 5” from beg; work dec row as follows: *work 3 sts in 1 x 1 rib, work 3 sts tog*, rpt from * to *across row – you should have 76 sts on needle. Work 3 rows straight 1 x 1 rib, then work dec row as follows: *work 1 st in 1 x 1 rib, work 3 sts tog*, rpt from * to * across row – you should now have 38 sts on needle. Work 1 row straight 1 x 1 rib, then work dec row same as last dec row: 19 sts on needle. Work 1 row straight 1 x 1 rib; then cut yarn at a length required for sewing seam, and with tapestry needle thread yarn through remaining sts on knitting needle, and close top of hat.

Sew hat together … reversing lower edge seamline where the hat edge will be folded back.

Wednesday, May 11, 2022

MORNING WALK AROUND THE LAKE

If I wake up, and there is no rain falling – and no rain forecasted in the immediate hour, I tie my hiking boots on and go for a hike 😊

This morning the weather was favorable. I chose Lake Sacajawea because I hadn’t been there in a while; and it would be colorful with the azaleas bursting out in bloom.

There weren’t many people in the Park, this morning. There is extensive renovation going on around restrooms near the foot-traffic bridge that leads to the Sacajawea & Pomp statue and Namesake Brick plaza area (https://www.oregonhikers.org/field_guide/Lake_Sacajawea_Loop_Hike); plus there is another covid mask restriction happening: people are just tired of dealing with national, and local, restrictions on their daily lives. They are either staying home in a depressed state of mind … or they are packing a lunch and going where foot traffic is pretty much nonexistent.

However, being the rebel that I am, I tend to make my own rules when it comes to personal choice: I walk where I please (on public land my tax $$$$ pay for), when I please (regardless of aimless, politically motivated mandates), and however I please (maskless) 😉

I think I shared the Park with perhaps a dozen people, walking dogs or riding bikes.

I saw two men fishing off Lion’s Island, as I walked past.

Vehicle traffic was back-to-back at the crossroad crossings. If it hadn’t been for a compassionate truck driver … in a Ford, no less 😊 I would probably still be standing on the curb waiting for a break.

All week, kindness in regards to traffic, has come from guys in pickups: waiting for a break, so I can make a lane change – a pickup man holds traffic up 2-car-lengths, so I can scoot into the gracious opening; backing out of a parking spot – a pickup guy gives me the distance I’m going to need … while he patiently waits; this morning, standing at the 4-way-stop curb waiting for a lull in traffic so I can cross to the other side of the street to continue my Lake walk – a pickup fella stops, and smilingly waves me across. I smiled and waved back as I quickly walked past his truck and continued my walk.

Women driving pickups, do not stop: they pretend not to see … and step on the gas, avoiding any eye contact whatsoever. MPO is that eye avoidance is their guilt kicking in.

Men in cars, appear to be self-absorbed. They are usually in a hurry, and have no time for anyone but themselves – especially little fellas in low-rider cars they think make them look bigger than they are.

I am thankful for the pickup men that show some courtesy, and give this petite/fluffy old hen a break 😉

And I miss my pickup man like crazy …

Bob; Summer 2004
Joe Diffie – ‘Pickup Man’ song:

Continuing around the lower end of the Lake Hike Trail, and along the Nichol’s Boulevard side of the Park, I dilly-dallied 😉

White fluffy-flowered hybrid Hydrangea Bush.
The yellow waterlilies are starting to bloom ...
Newly planted additions to the Park.
Flowering bush filling out, willy-nilly; the yellow flowers resemble buttercup blossoms.
Deep purple Lenten Roses.
Hybrid purple Columbine with variegated leaves.
A very nice walk around the Lake, today.

As I neared the Louisiana Street Bridge, the underside of my left foot was starting to hurt … so I cut the hike short, and backtracked to the parked Highlander. I have learned the hard way that when my soles start hurting, it’s best to stop what I am doing and give my feet a rest.

My feet are not used to the lengthy walking: we’ve had so much stinkin’ rain that has kept my feet indoors, that it will take time to build up to 4-mile hikes again, without my feet whining, “what the hell mama? 

Just walked a smidgen over 2.5 miles this morning; I pointedly ignored the upper half of the Hike.

So, I gave them a break and drove them home to rest 😉

Back at home, I talked to a friend who got her new car today, and she’s happy as a clam at high tide 😉 I’m glad for her.

I finished the Angel Baby Blanket I started last night … and I’ll work up another one before bedtime. They are little, and they hardly use up time at all.

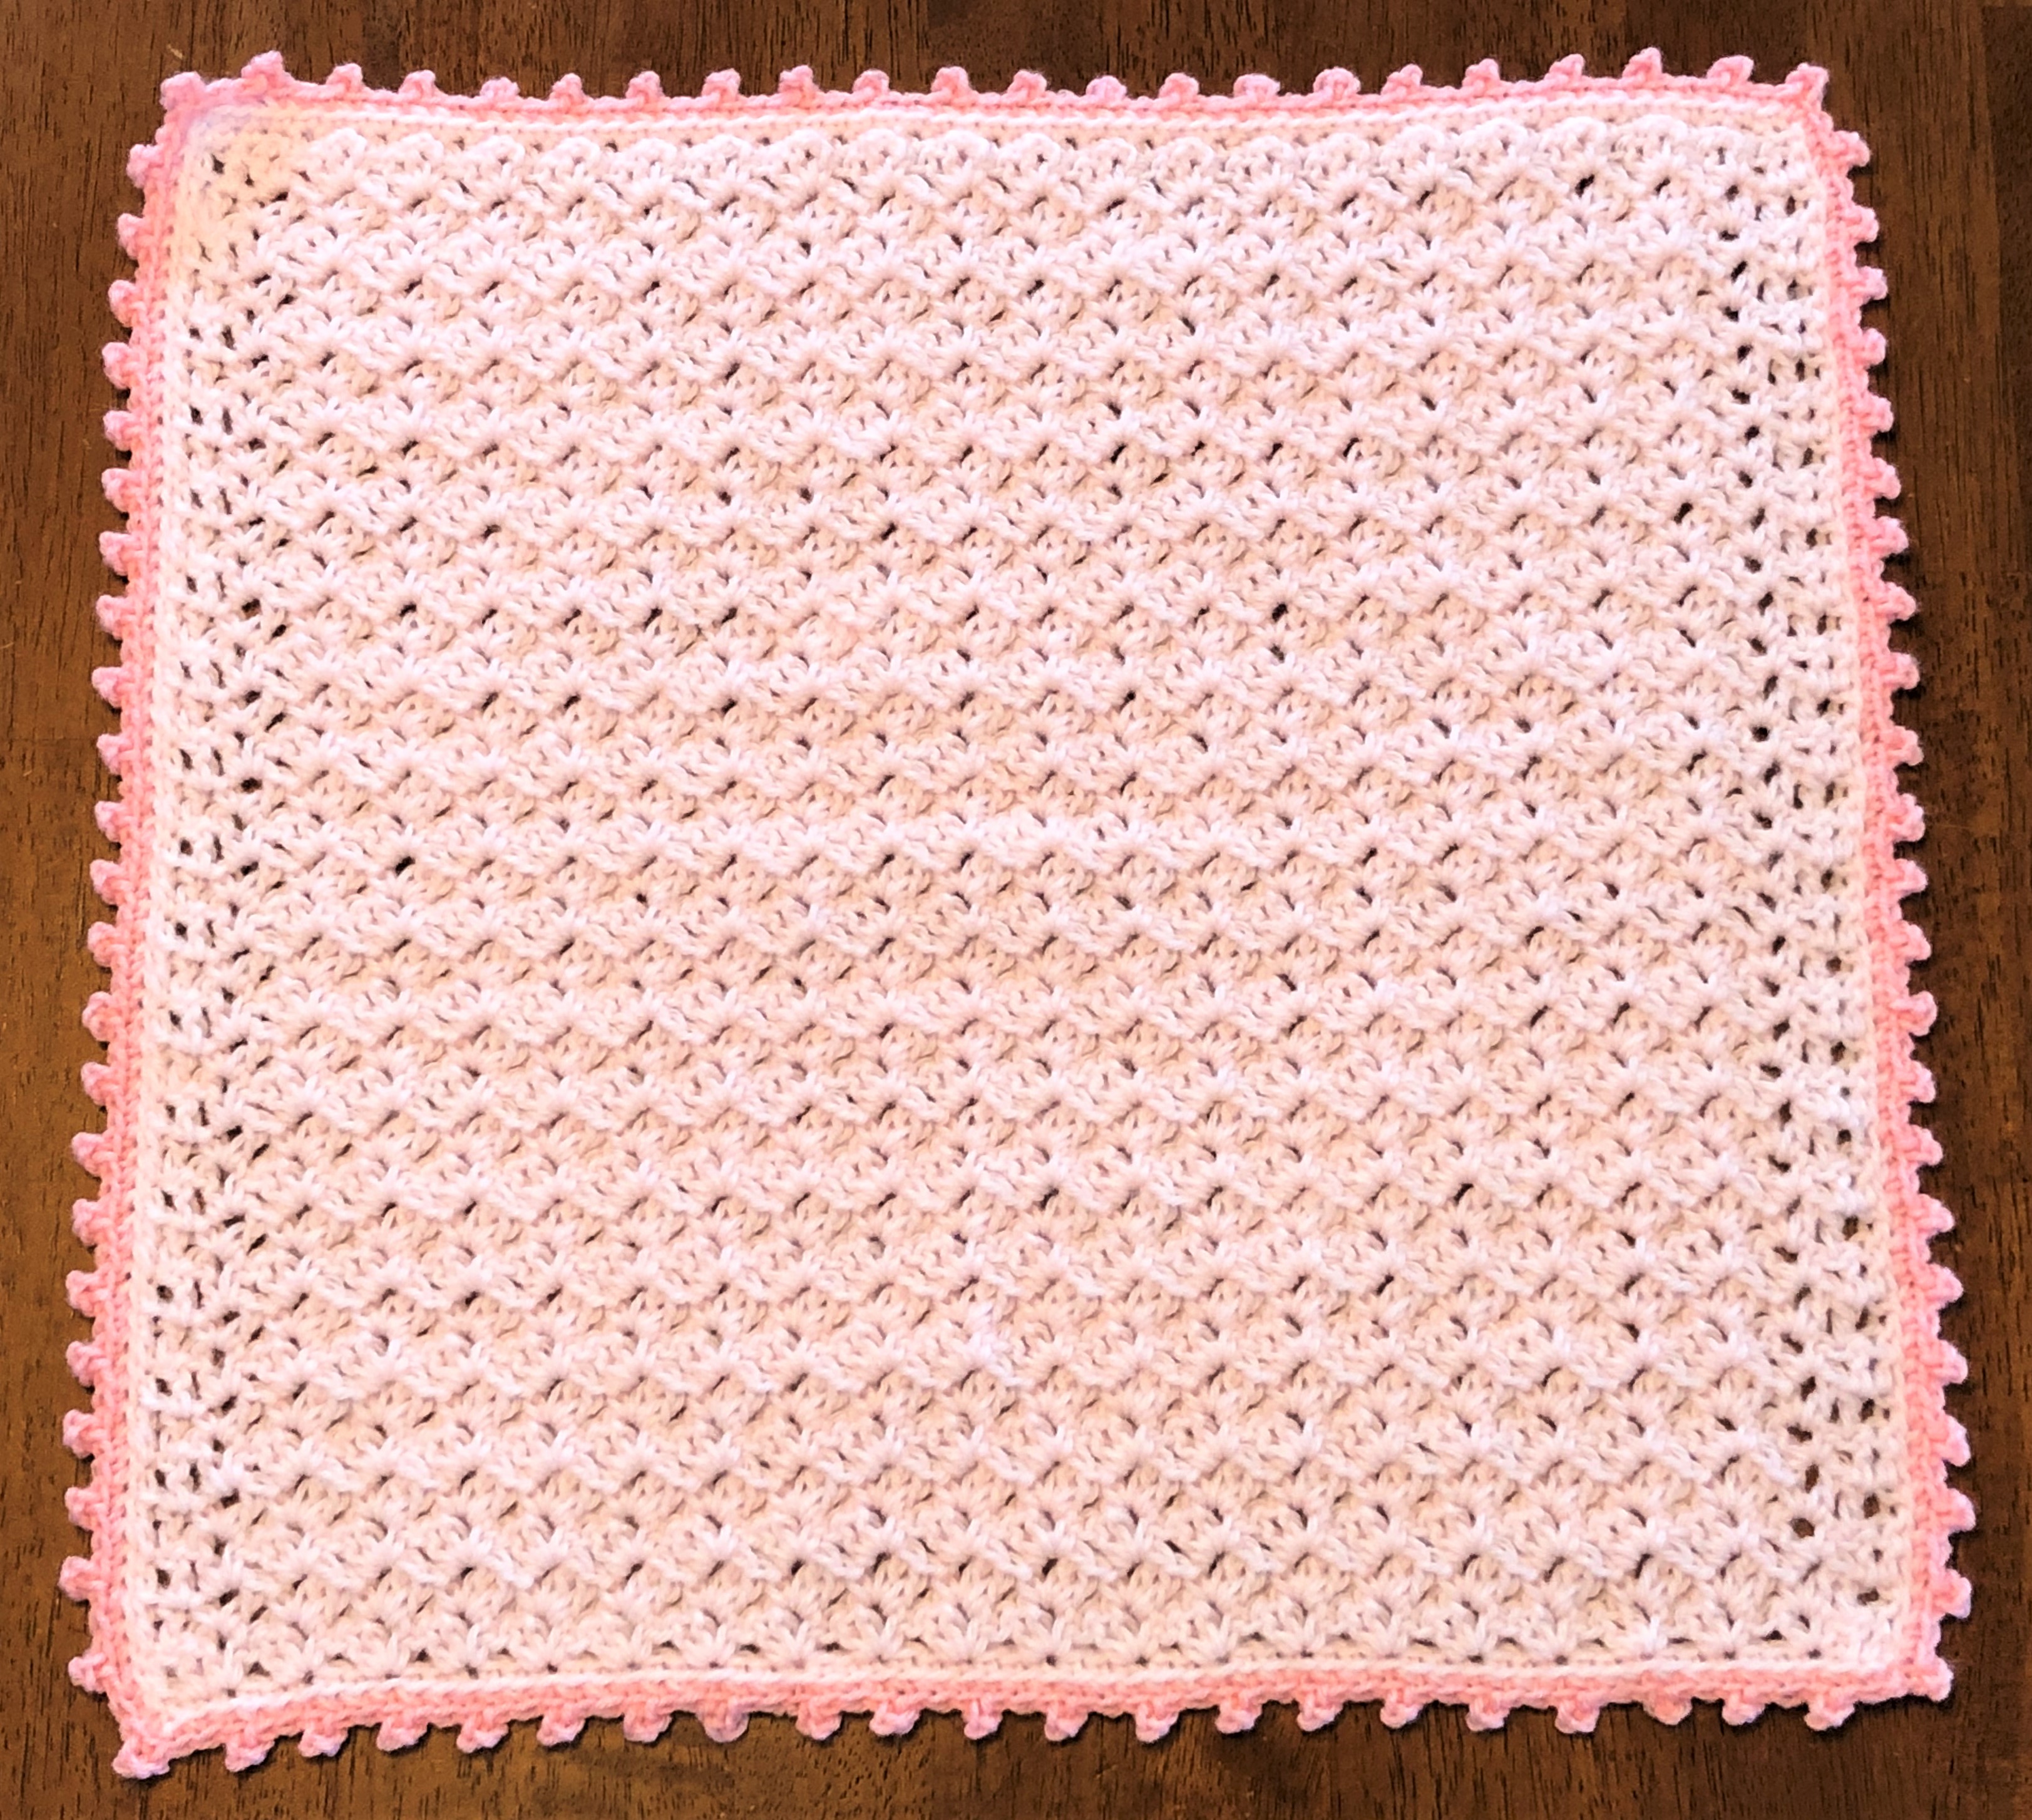
MOD Forget-Me-Not Blanket finished; 15-inch Girl. Crochet.
1 more Boy Blanket, and this box can be sent off.