

The original pattern for this set was in a Pingouin Nr 98
Baby Layette Pattern magazine … but Pingouin yarn is no longer available, and
the Magazine is no longer in print – so, I rewrote the original pattern for a
newborn size, and worked this set in Bernat Baby Sport yarn: for all intents and purposes at this time, this pattern really in my own design (MOD) 😉
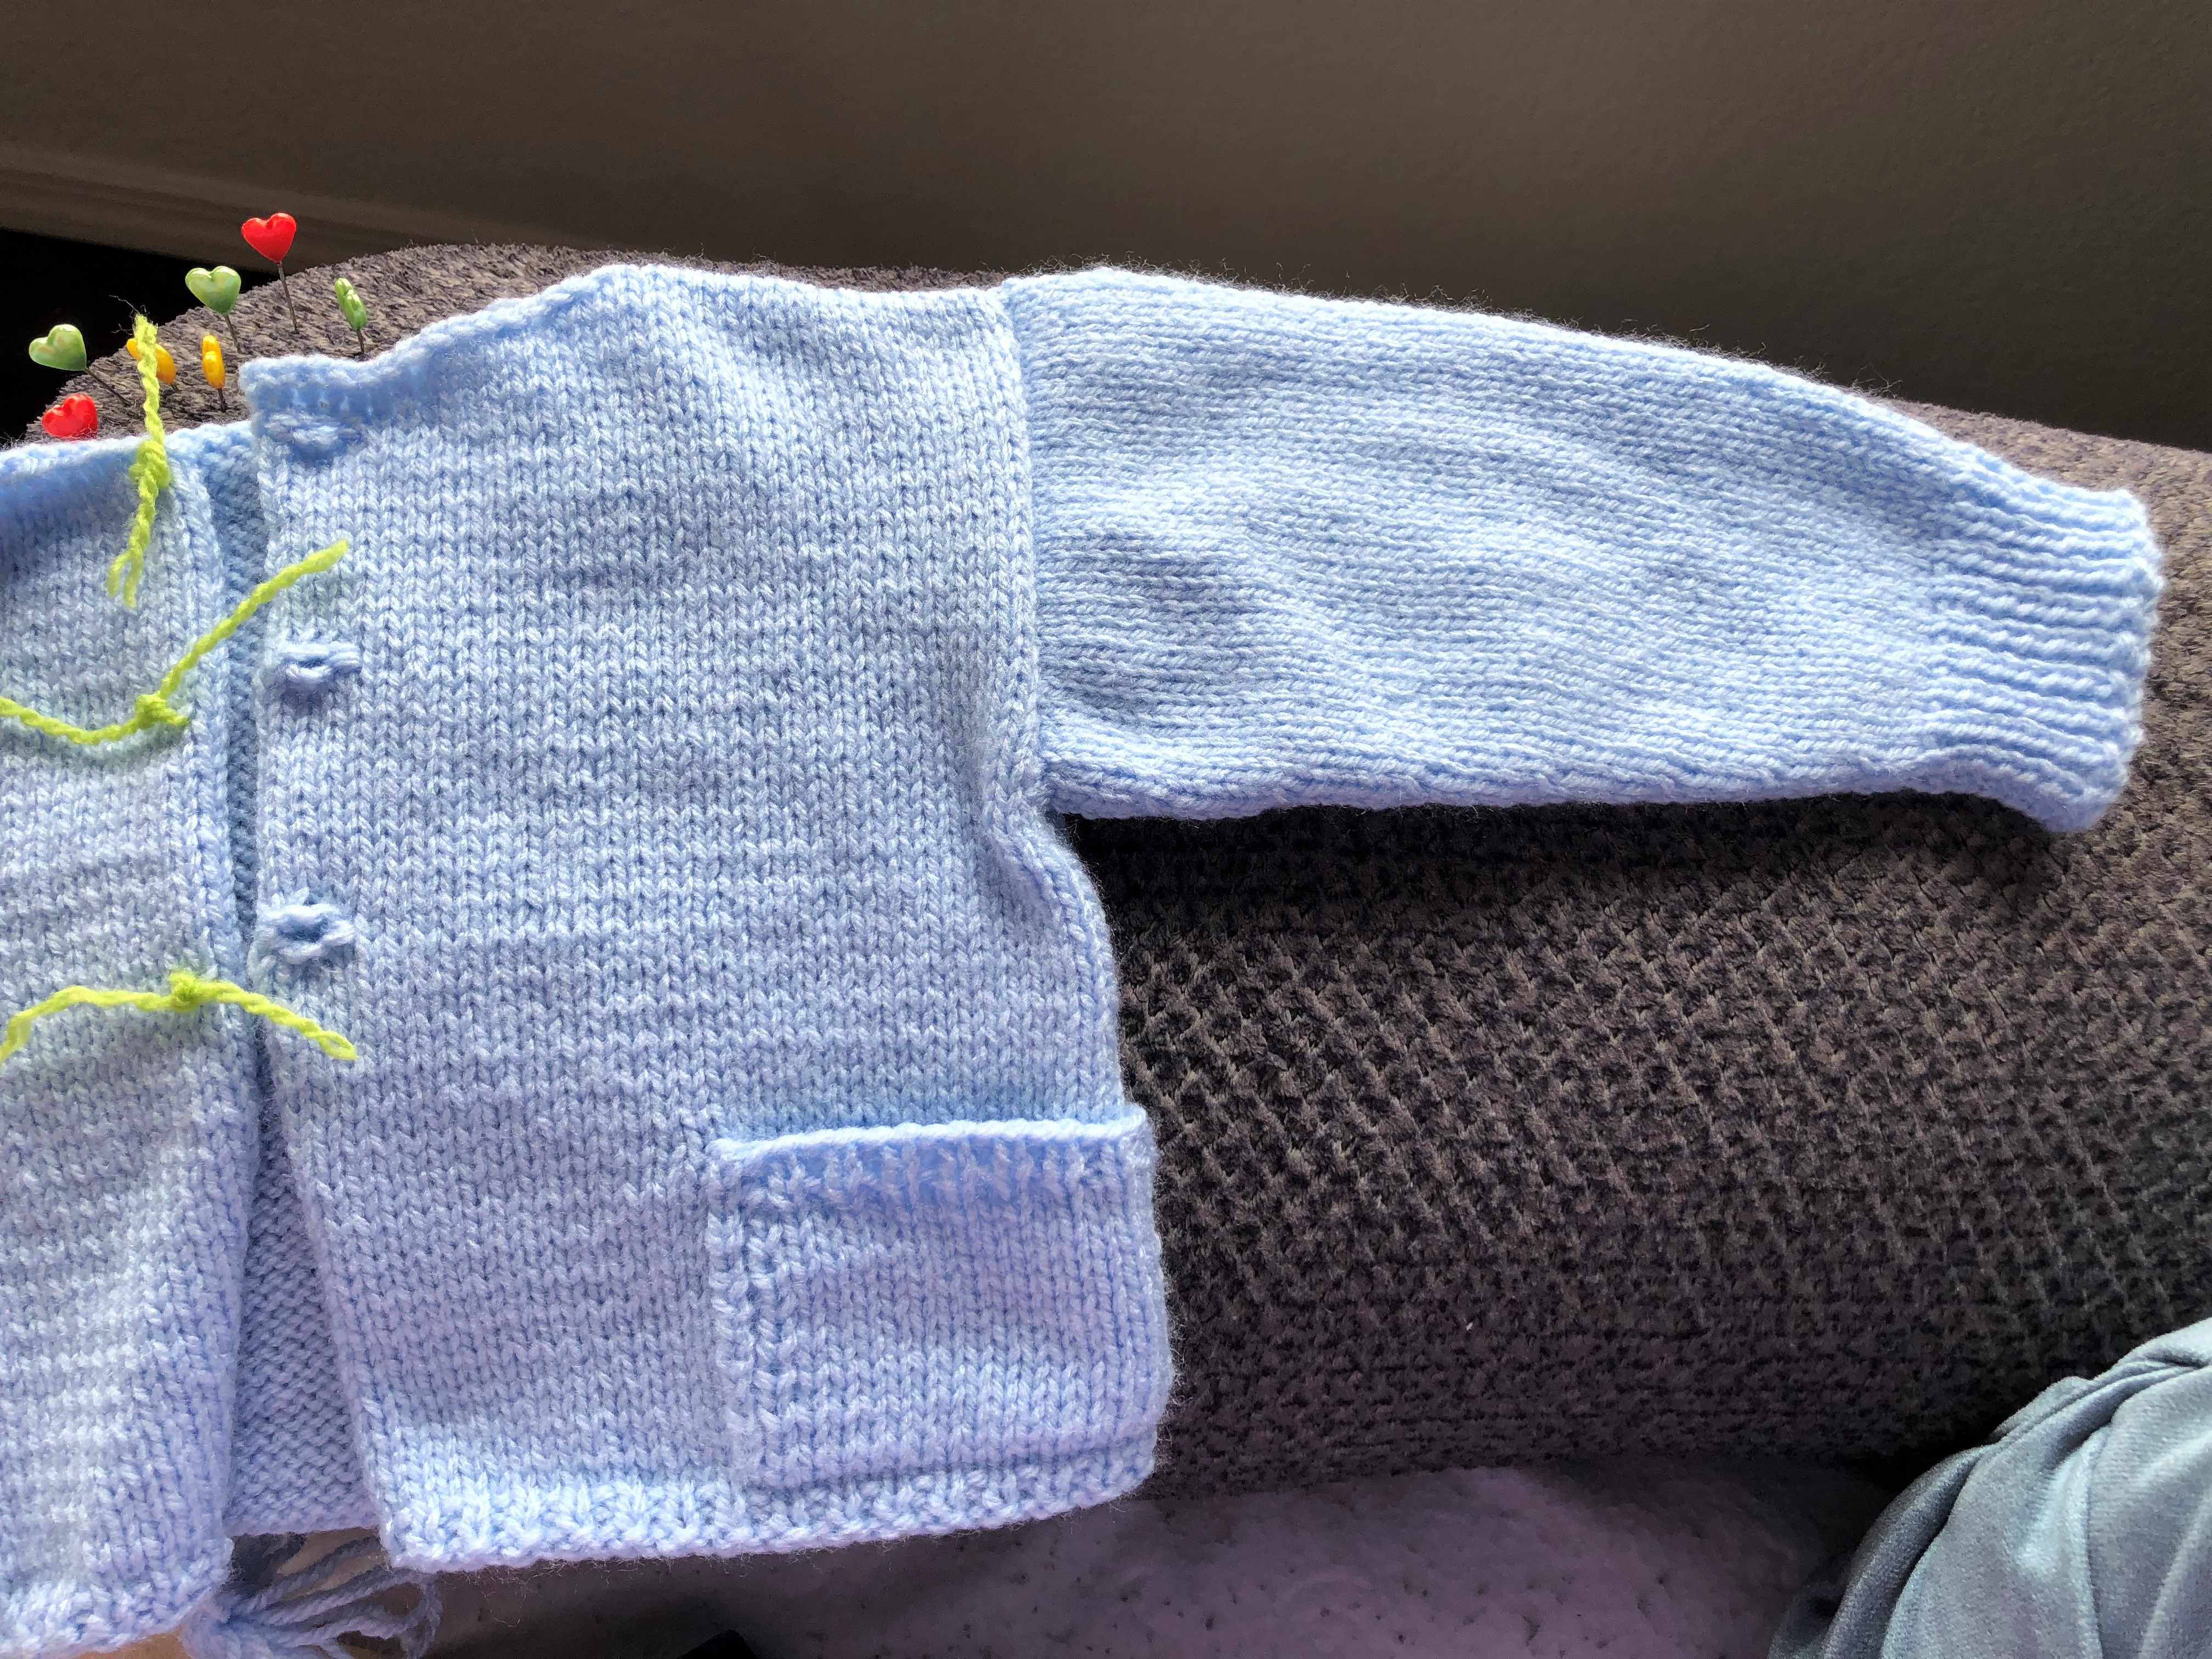
Size: NB to 3 mos.
Materials: 1 10.5 oz skein Bernat
Baby Sport yarn, blue; #2, #3 & #4 needles; 3 buttons; tapestry needle
Terms Used:
CO = cast on
sts = stitches
beg = beginning
st st = stockinette st
inc = increase
ea = each
dec = decrease
tog = together
BO = bind off
x = do again
rpt = repeat
Stitches Used:
1 x 1 Rib: (Row 1): knit
1, purl 1 across row. (Row 2): K the k sts, and p the p sts. Rpt rows
for pattern.
Stockinette St: (Row
1): k across row (Row 2): purl across row. Rpt for pattern.
==Cardigan –
Back: With
#3 needles, CO 63 sts & work 3 rows in 1 x 1 rib. Change to #4 needles
& work st st for 5” from beg (include rib), shape armholes:
BO at each outer edge, 2 sts once. You now have 59 sts on needle.
Continue in st st – when piece measures 8-7/8” from beg (include rib),
shape shoulders: BO at each outer edge, every 2nd row, 9 sts
x 2 – at same time as 1st shoulder shaping, BO center 25
sts for neckline shaping; then finish each side separately.


Left Front: With
#3 needles, CO 35 sts & work 3 rows in 1 x 1 rib. Change to #4 needles
& work st st for 4” from beg (include rib); make 1 buttonhole 2 sts
wide, 3 sts from left edge … then make 2 more, spaced ¾” apart. At
same time, when work measures 5” from beginning (include rib), shape
armhole: BO on right edge same as for Back piece. You should
now have 33 sts on needle. Continue in st st – when piece measure 7-¾” from
beginning, shape neckline: BO on left edge, every 2nd
row – 6 sts x 1; 5 sts x 1; 3 sts x 1, & 1 st x 2. When piece measures
8-7/8” from beg (include rib), shape neckline: BO on right
edge, same as for Back piece.


Right Front: Work
same as Left Front … but reverse shapings & omit buttonholes.
Sleeves: With
#3 needles, CO 42 sts & work 1-3/8” in 1 x 1 rib. Change to #4 needles
& work in st st; inc 1 st at each outer edge – every 6th
row x 3, & every 8th row x 4. You should now have 56 sts on
needle. When piece measures 8-3/8” from beg (include rib), BO across
row.

Pockets (make
2):
With #4 needles, CO 18 sts & work in st st for 2” – then work 3 rows in 1 x
1 rib; BO.
Piecing cardigan together: Sew pockets
to front pieces – side edge of pockets on side seam & lower edge above
hemline ribbing.

Sew shoulder seams.
Sew sleeves to armholes.
Sew side seams; matching underarm seams for a smooth
seamline. Mark button placement.
Finishing: With
#2 needles & right side of work facing, pick up and knit 62 sts
around neckline – this will be the collar. Work 1-5/8” in 1 x 1 rib. BO,
fold collar inward, and whipstitch to the pickup row.

Front Borders: With
#2 needles & right side of work facing, pick up and knit 63 sts along ea
front edge (except collar ends) … and work 1 row of 1 x 1 rib – BO next
row.

Sew on buttons.

==Stocking Hat –
With #4 needles, CO 114 sts & work in 1 x 1 rib until
piece measures 5” from beg; work dec row as follows: *work 3 sts in 1 x 1 rib, work 3 sts tog*, rpt from *
to *across row – you should have 76
sts on needle. Work 3 rows straight 1 x 1 rib, then work dec row
as follows: *work 1 st in 1 x 1 rib,
work 3 sts tog*, rpt from * to *
across row – you should now have 38 sts on needle. Work 1 row straight
1 x 1 rib, then work dec row same as last dec row: 19 sts on needle.
Work 1 row straight 1 x 1 rib; then cut yarn at a length required for
sewing seam, and with tapestry needle thread yarn through remaining sts on
knitting needle, and close top of hat.
Sew hat together … reversing lower edge seamline where the
hat edge will be folded back.
This is a beautiful set to make for a new grand-baby, niece, or nephew. It's a perfect baby shower gift. Thank you for participating in Talent-Sharing Tuesdays 21.
ReplyDeleteCarol
www.scribblingboomer.com
Yes :-)
DeleteThank you for hosting ... and dropping by for a "hi".
Have a funtastic week!
Val this is so cute. I love your work. I've searched your site but I can't find a way to follow you. I'd like to be notified of new posts. Am I looking wrong? I bookmarked your site so I can visit regularly. Blessings.
ReplyDeleteThank you :-)
ReplyDeleteI don't have a Follow Button on my Page - I did for a while, but it was never used, so I deleted it. I bookmark Blogs too; that just seems to work best ;-)